As the name implies, SQLite is a light weight transactional SQL database engine. It is open-source and free for use either for personal commercial. SQLite is widely used in mobile apps and many other desktop applications that need an internal light weight free SQL database. In this post I explain how to visualise SQLite data in Power BI.
Requirements
To be able to go through the process you need to meet the following requirements:
- Latest Version of Power BI Desktop (Current version: 2.52.4921.682 64-bit (November/2017))
- Install SQLite ODBC driver: Make sure you install 64 bit version if your Power BI Desktop is 64 bit version like mine!
Note: You may install both x32 and x64 bit versions of the driver if your other applications are in x32 bit.
- An existing SQLite database
Note: In case you just want to try this and you don’t currently have a SQLite database you can download a SQLite version of “Internet Sales” of AdventrueWorksDW2016 that I made available for you.
How it works
Like any other Power BI cases, it’s really easy to load data from an existing SQLite database to a Power BI Desktop model. You just need to use ODBC data connection and connect to a predefined “ODBC DNS” OR use a “Connection String”. I’ll explain both methods. After you load data to your Power BI Desktop, you create the relationships then you’re good to go and create flashy reports. Continue reading if you’re interested to an step-by-step guide to visualise SQLite data In Power BI.
Importing SQLite Data to Power BI Using ODBC DSN
- Open the correct version (x32, x64) of ODBC after you downloaded and installed SQLite ODBC Driver
- Click “Drivers” tab and make sure SQLite ODBC Driver(s) successfully installed
 Click “User DSN” tab then click “Add”
- Select appropriate driver from the list, in my case it is “SQLite3 ODBC Driver”
- Click “Finish”
- Enter a name for the data source
- Click “Browse” and locate your SQLite database then click OK
 Now you successfully created an ODBC DSN that can be used in Power BI to connect to SQLite.
- Open Power BI Desktop
- Select “ODBC” from “Get Data” then click “Connect”
- Select the DSN you created earlier from the dropdown list then click OK
 Click “Default or Custom” tab then click “Connect”
 Select the desired tables from the list then click either load
 After you imported data into Power BI you need to manually create the relationships between the tables
 Now you’re good to go and create reports.
Importing SQLite Data to Power BI Using Connection String
- After you installed SQLite ODBC drivers, open Power BI Desktop
- Select “ODBC” from “Get Data”
- Select “SQLite3 Datasource” from the dropdown list
- Click “Advanced options”
- Now type “database=” followed by your SQLite file path then click OK
 Click “Default or Custom” tab then click OK
 The rest is the same as previous method.
All done! ![]()
Discover more from BI Insight
Subscribe to get the latest posts sent to your email.
Hello, thanks for the great post. Is there a way to edit the connection to a different database file after creating it? Thanks!
Hi, this is useful but I kept getting error “SQLSetConnectAttr failed”. Managed to figure out the problem – if any table in sqlite3 has a trigger, it’ll give this error. When I dropped all the triggers, it connected through successfully. May want to add this piece of info in your page here.
Hello, I have installed DB SQLite 3.12.2 64bit, but I don’t have SQLite3 in the list, I have the windows 11. Is it because of the system, because I had SQLite3 when I was using Windows10.
This works fine when importing the data, is there a way to use Direct Query as well for SQLite?
Hi Martin,
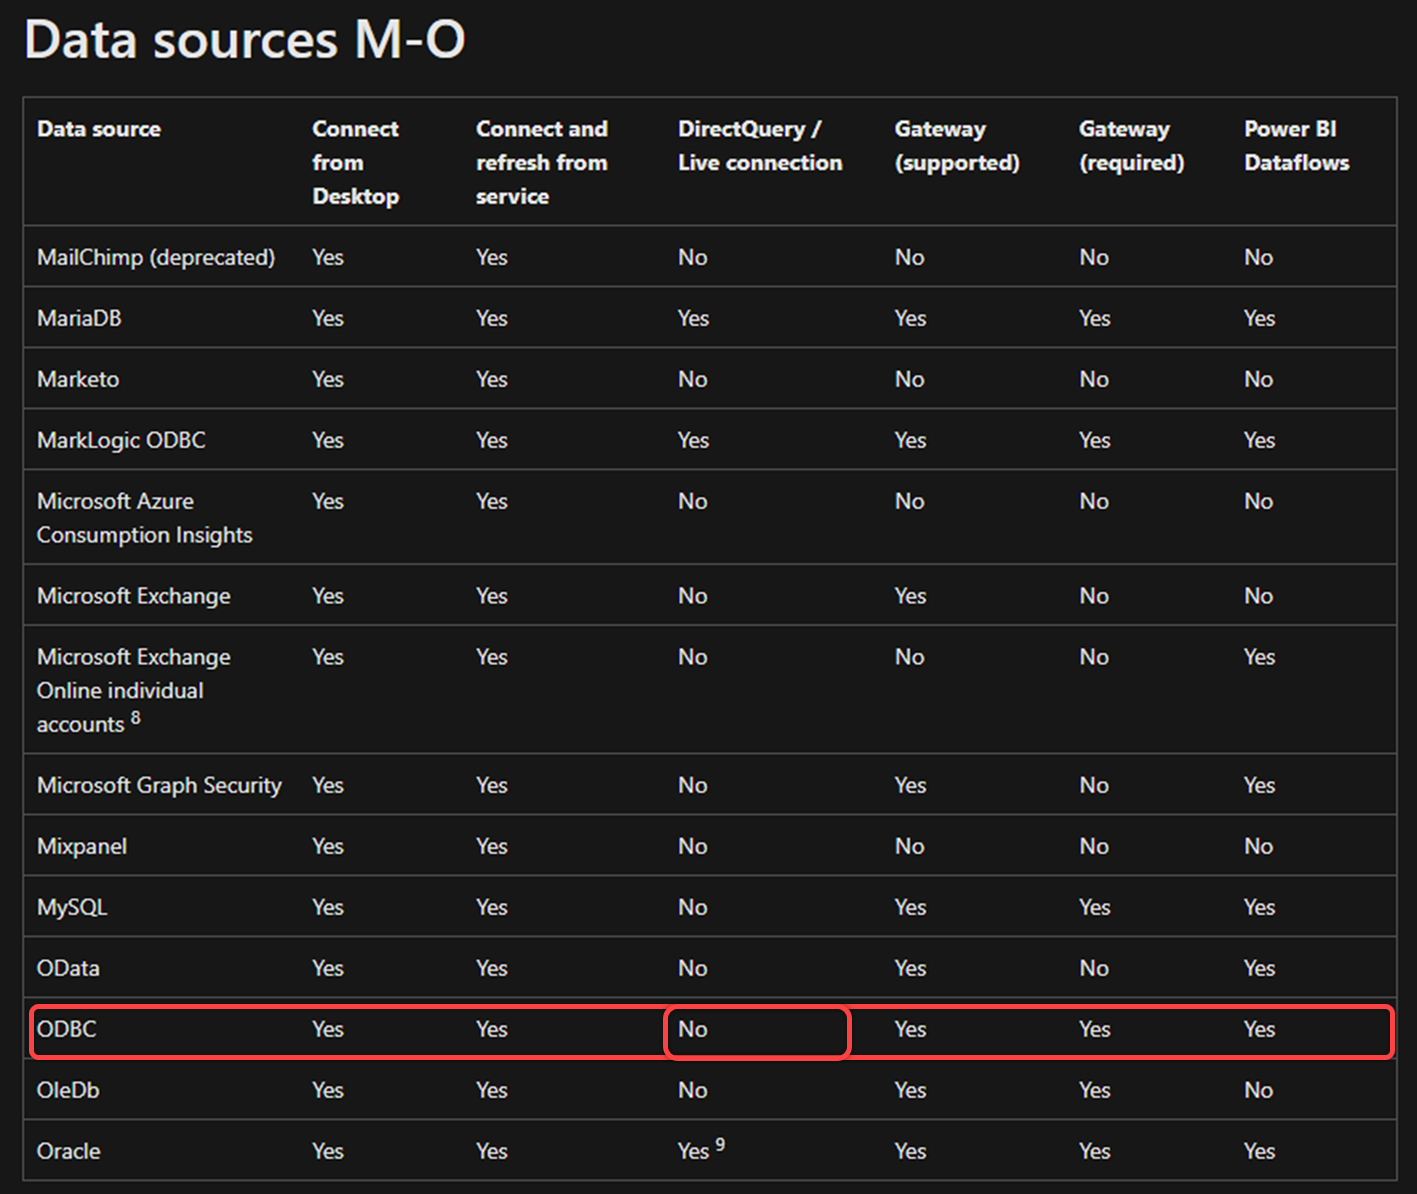
As far as I’m concerned, Direct Query over ODCB connections is not supported.

Cheers
Hi all,
I am facing issues with the SQLLite ODBC driver. I am able to create the 32 bit version, but unfortunately cannot use it with my 64-bit PBI.
When I try to create the ODBC connection with installed 64-bit SQLLITE drivers I get the following error:
The setup routines for the SQLite3 ODBC Driver ODBC driver could not be loaded due to system error code 193: .
Any help is appreciated, because I am really stuck.